User onboarding example: A review of Loom’s onboarding 2023
-
Messaging and AutomationUpdatedPosted:
On this page
Let’s face it, in the world of remote work, nobody knows quite how to hit the sweet spot of interactions with their coworkers or clients.
Imagine you’re briefing a co-worker on a project with some specific requirements.
Sometimes, as with a brief, things require a little more explanation than a text message allows for. On the other hand, nobody wants to disturb their colleague’s day by asking for a video call that probably isn’t entirely necessary.
That’s where Loom comes in.
Loom is an app and browser extension that allows users to create videos with screen and face recordings quickly and easily. That way, you can skip the call or message and jump straight into a 5-minute explainer video that saves everybody valuable time.
On the surface, Loom seems like the go-to solution for producing onboarding videos, explainers, webinars, and tutorials. But just how simple is it to sign up for this video creation solution? We’re glad you asked.
A Step-by-Step Guide to the Loom Onboarding Process
Let’s take a dive into the Loom onboarding process and see just how straightforward it really is.
1. Sign Up for a Free Account
Getting started is straightforward enough. Simply click "Get Loom for Free" in the corner of the page, and you’ll be taken to this shiny sign-up page.
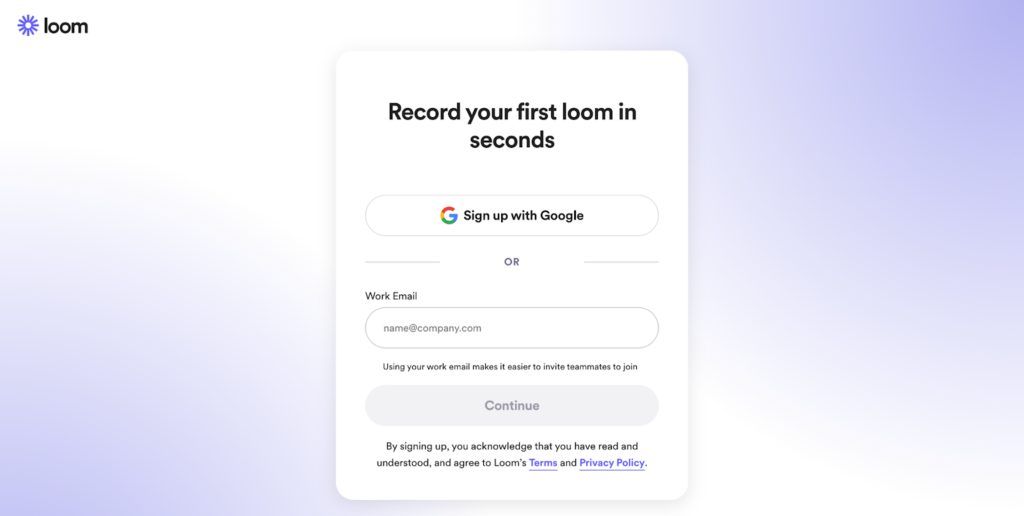
From there, sign up either with Google or your work email address.
2. Fill in Your Details
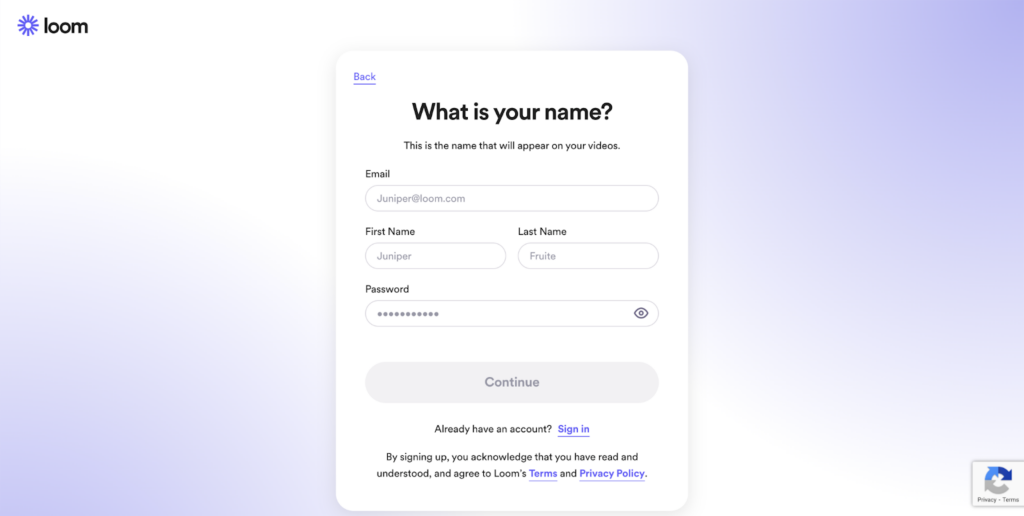
Once you’ve given your email address, you’ll be taken to this page, which asks you to give your name and create a password for your account. There’s a strong password policy, too, so you’ll need to add in the required number and type of characters to proceed.
3. Verify Your Email
You’ll be sent an email with a link to verify your account. Simply click ‘Verify your email address,’ and you’ll be taken to the login page, where you’ll now be able to access your account.
4. Take a Short Quiz
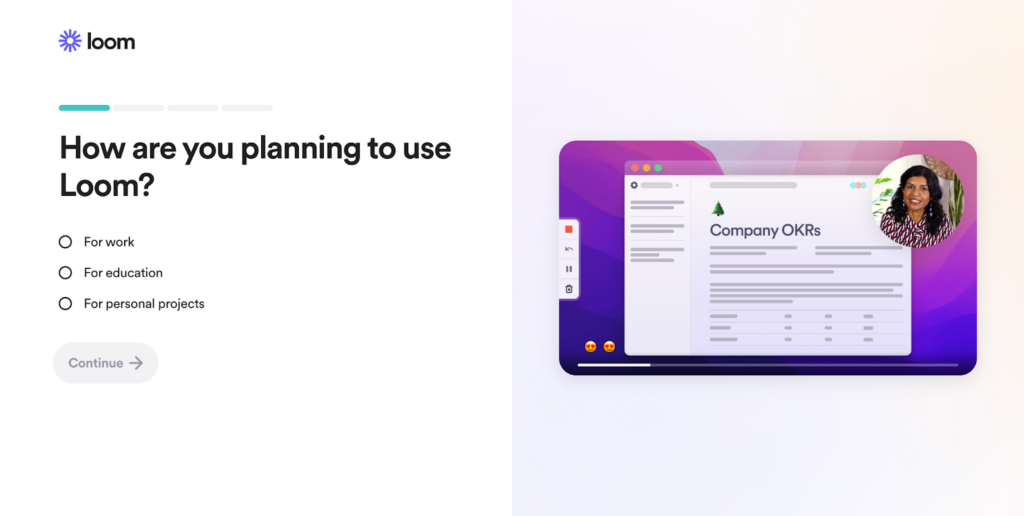
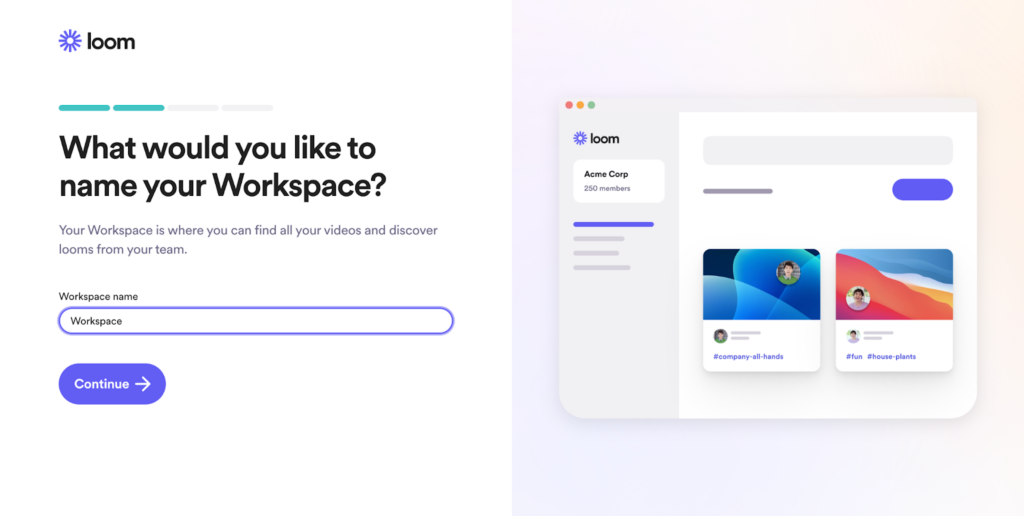
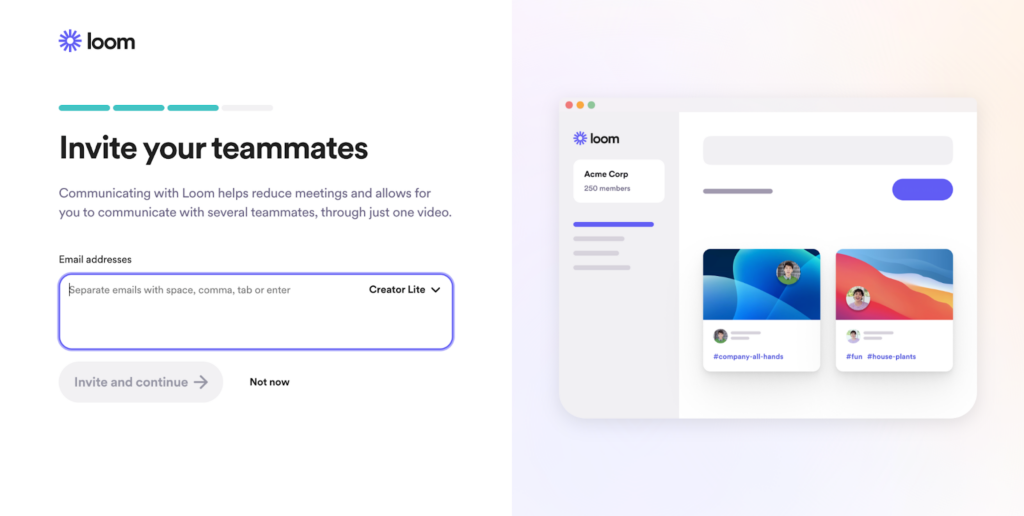
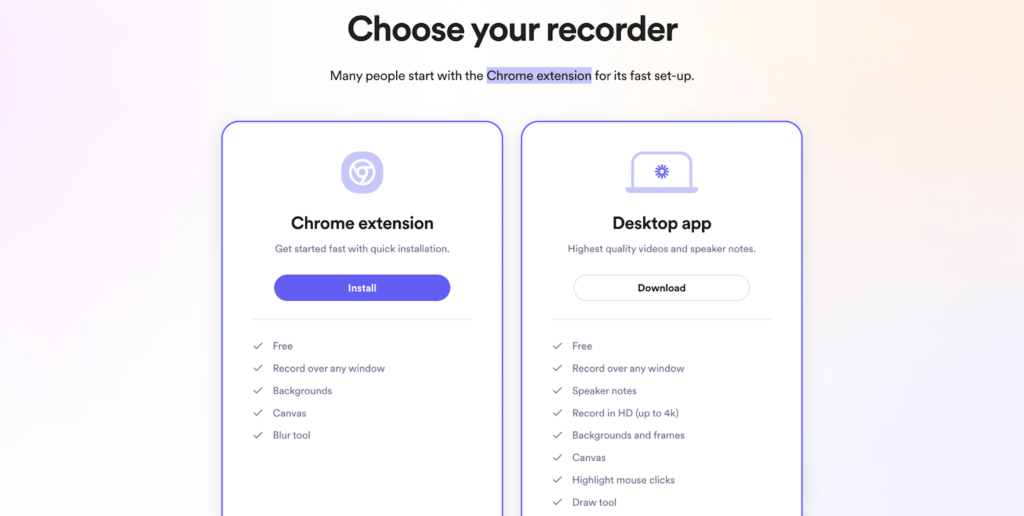
Loom will ask you to answer a few short questions as part of the onboarding process. These include what you intend to use Loom for, what you’d like the name of your workspace to be, whether you’d like to invite your teammates, and which recorder you’d like to use for your videos.
You can choose between a Chrome extension, which is quick and easy to install, or the desktop app, which offers higher-quality videos and speaker notes. You can either download one option before proceeding or skip straight to your workspace.
5. Follow the Get Started Checklist
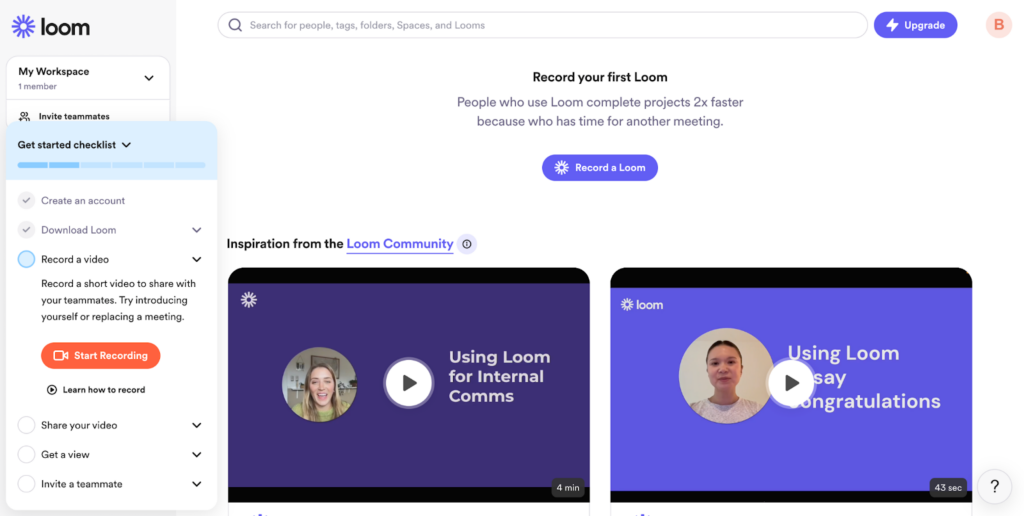
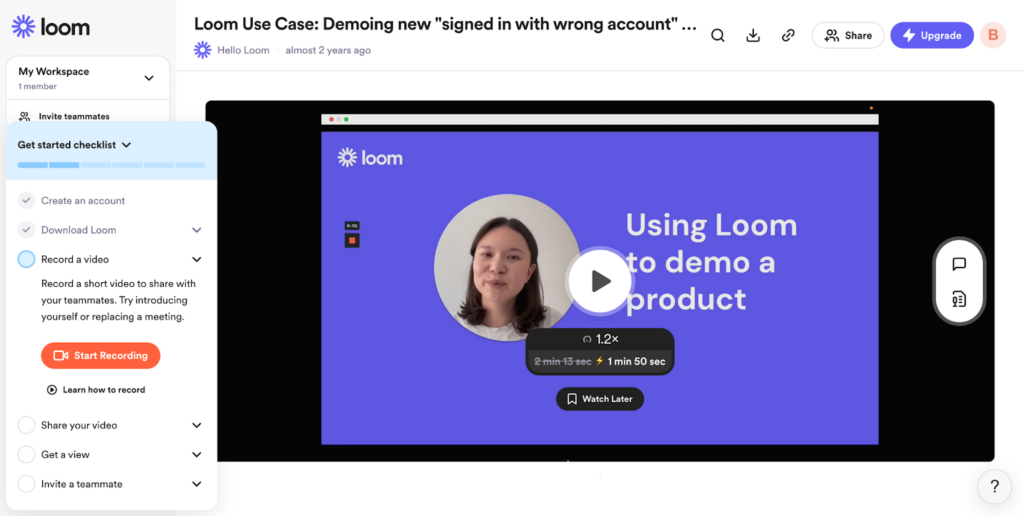
In the bottom left corner of the screen, you’ll see a ‘get started’ checklist, in which Loom lists the steps involved in creating your first video.
Once you’ve created an account and downloaded Loom, next on the agenda is to record a video, share your video, get a view, and invite a teammate.
While the onboarding process as such has ended at this point, and you’re left to navigate yourself through the platform, there are plenty of helpful tools to help.
If you need more support or a how-to guide before making your first recording, click "Learn how to record" on your "Get Started checklist".
You’ll be taken to a page with a handy guide on recording your first video on Loom – filmed, of course, using Loom.
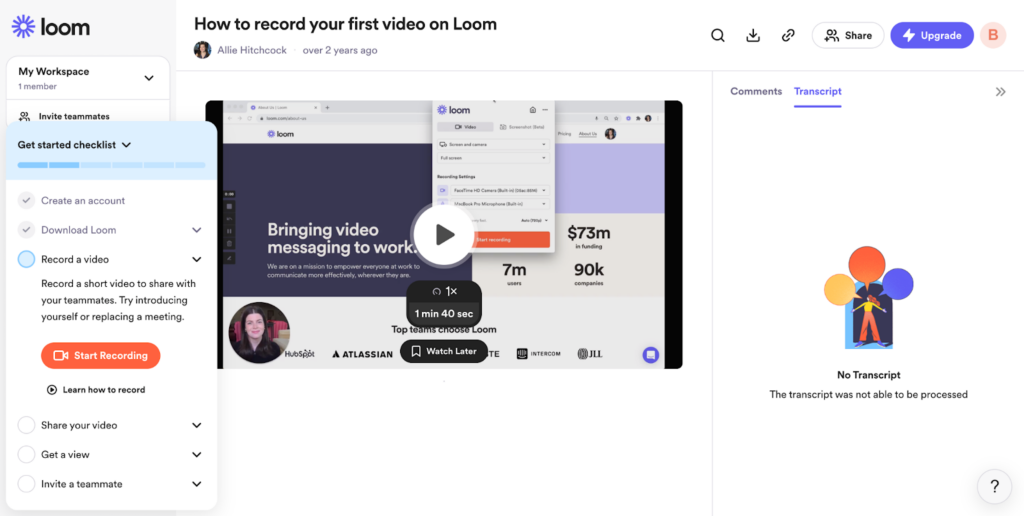
From this point onwards, you’re free to navigate yourself however works for you, with the ‘Get started checklist’ as your guide.
Loom’s Focus on Teams
You’ll probably notice that you’re encouraged to invite your teammates to join you on Loom at multiple points during the user journey. It’s in the short quiz that forms the onboarding process, it’s on the "Get Started checklist", and it’s located in the top left corner of your screen under "My Workspace".
Plus, if you use your company address and they already have a workspace, Loom will link you to it.
This isn’t by accident but by design. Loom’s whole MO is about connecting you with others through the power of video – there’s not much point recording a Loom for yourself.
Loom wants customers to realize its value-add as soon as possible, so it pushes you to connect with others at every stage of the process. It’s undoubtedly a clever UX design, but it can be frustrating if you sign up to Loom for one quick video and don’t want to invite anybody.
How Loom Engages New Users (& What Could Be Better)
Loom’s onboarding process manages to point users in the direction of useful features without being overbearing with its "Get started checklist" and promise that you can "Record your first Loom in seconds" on the signup page.
One common gripe users have with onboarding is how long it takes, especially when they’re short on time. The promise of accessing the tool in seconds overcomes a potential barrier for new customers by reassuring them they won’t have to jump through endless hoops to get started.
Similarly, during the short onboarding quiz, Loom makes it clear how many steps remain using bars at the top, which change color once a step has been completed. That way, customer doubt or fatigue is overcome with a promise that there are only a few more steps remaining.
Once signed up, Loom sent a follow-up email a day or so later which tells users how to use Loom for an industry-specific use case. The language was friendly and straight to the point, with minimal text.
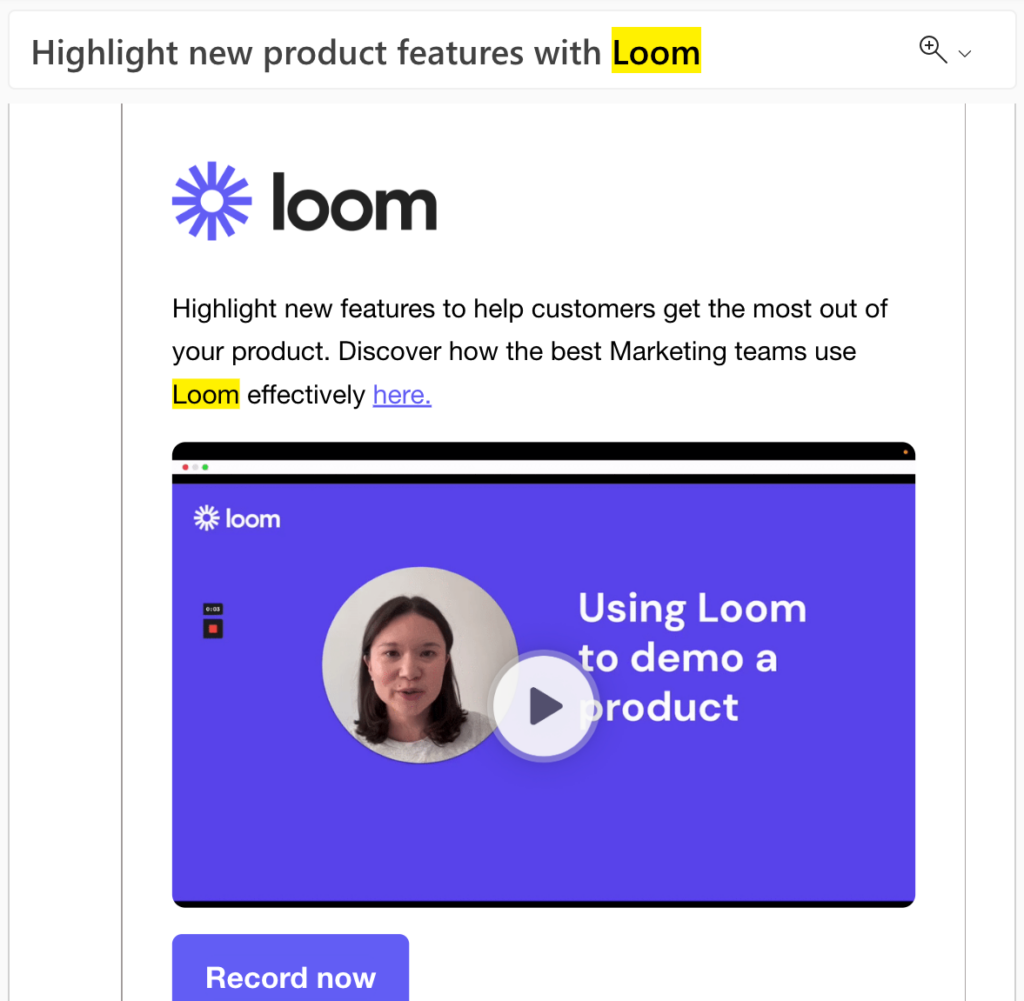
I selected marketing as my industry when I signed up, so I received an email guiding marketers on how to highlight new product features with the help of Loom.
This follow-up email helps to convince users who are unsure about Loom’s value and gives them useful insights into how it’s best used.
While it is engaging, an even better idea could be to send a case study email (featuring a usage case in your industry), showing new customers how other Loom users have made the most of Loom. This would provide an all-important form of social proof. Instead, the example is created by the Loom team itself.
Pros and Cons of the Loom Onboarding Process
As with every onboarding process, some things go well while others could be improved. Here are the pros and cons of the process, from signing up for Loom to getting started.
Pros:
- ✅ Signing up is free of charge, and you don’t have to give your credit card details.
- ✅ The process is quick, easy, and simple, and there aren’t too many steps involved.
- ✅ The short quiz that comprises part of the onboarding process helps Loom tailor your experience to your needs.
- ✅ The "Get started checklist" supports you with the following steps once you’ve logged in.
- ✅ The download options for Loom are plainly presented to you with the pros and cons of each so you can decide which works best for you.
- ✅ The strong password policy and verification email are good for security.
- ✅ The email contact in the few days after signing up is minimal, not overbearing.
- ✅The follow-up email with advice helps users get a better idea of Loom’s potential.
Cons:
- ❌ There’s a reminder to invite teammates throughout the process, which could be irritating if you don’t plan on inviting others.
- ❌ There’s no demo or animation as part of the onboarding process to show you the next steps.
- ❌ There’s no animation or signposting to navigate you around the platform.
Loom: Yay or Nay?
While other tools, such as Slack, offer similar features to Loom, Loom’s clean user interface and easy-to-navigate process make it worth downloading for those who see themselves using this tool regularly.
The onboarding process can be completed in less than ten minutes, allowing you to get set up quickly and easily. While the process could give a little more guidance in the form of demos, arrows, or a short animation, most users will be pleased not to have to jump through too many hoops to get started on video recordings.
On the whole, it’s a thumbs up from us!

