- All Posts
- /
- Reduce spam signups on website forms

Reduce spam signups on website forms
Messaging and Automation-
 Chris Hexton
-
Updated:Posted:
On this page
What is a honeypot?
In the world of messaging and email marketing, a "honeypot" is a tool used to detect when automated bots are trying to add subscribers to your customer list or sign up for your product. It’s a way to help ensure only real and interested customers subscribe to receive your messages, protecting customers’ privacy and your company’s reputation.
The term derives from the world of cybersecurity. A "honeypot" is a computer security mechanism. It is a decoy that looks and operates like the target system you’re trying to protect but has been set up purely to attract and detect potential attackers. By monitoring the decoy, the owner of the system can detect if they are being targeted by cyber threats.
A honeypot is a simple and effective way to ensure that you only send messages to genuine subscribers.
How to add a honeypot to your website form
In this tutorial, we will show you how you can use HTML forms and segments in Vero to set up a honeypot that prevents spam signups and bad actors from subscribing to your mailing list.
In this example, we’ll use a blog subscription form but you can use this approach for most online forms, including trial signup forms or surveys.
Step 1: Create a form so users can subscribe to your messages
The most common way to allow users to subscribe to your messages is to provide a form on your website. Using our Vero HTML forms, you can add subscribers directly to your account.
To create a form in Vero, select Forms > New Form and add the fields for the information you want to collect. In Vero, we call these fields ‘User properties’. The value entered for each user property is stored on the customer profile in Vero.
In this example, we keep things simple and just ask our new subscribers for their ‘First name’.
Note: if you have previously created a user property in Vero, you can simply select the property on the left-hand side to add it to the form.
When a user submits a form, their information will be automatically added to your Vero account. The form will also trigger an ‘event’, describing the action the user just took. In the example above, we named our event "Subscribed to blog".
‘Events’ are a powerful way of tracking user behavior. Vero’s forms and APIs use events to enable you to track important customer activity. These events can be used to automate workflows and the messages your customers see.
Learn more about event tracking.
Before you select ‘Generate Form’, you need to add a ‘hidden field’ to detect bad actors.
Step 2: Add a hidden field to your form as a decoy for bad actors
Now that you’ve configured your form, it’s time to add an extra field to detect whether a subscriber is a genuine person or an automated bot.
To do this, we rely on the assumption that an automated bot or script will complete every field in our form. We can, therefore, assume that when that field is completed, the user created in Vero is a bad actor, fake or spam account.
Attackers are always improving their approach so to help increase the effectiveness of your honeypot, we recommend choosing a name for your decoy field that is realistic – but not a data field you intend to track anywhere else. Some examples you might use:
fax_numbersecond_namepets_namefirst_school
Add this field to your Vero form and select ‘Generate form’.
Now you’re ready to add the form to your website.
Step 3: Add the form to your site and hide your decoy field
When adding the HTML form to your website, you need to make a final adjustment to the code generated by Vero.
By making your hidden field a checkbox, rather than a standard text field – the value will either be set to "1" if completed by a bot (rather than random values set by automated bots in text fields) or will not exist on the user at all (i.e. it will be blank).
Ensure the checkbox is hidden so that humans cannot see it, and therefore unable to complete it. This way, only attackers using automated tools can complete this field.To do this, you need to alter the HTML generated by Vero (example below).
<form action="https://app.getvero.com/forms/form_secret_here method=">
<label for="user_First name">First Name</label><input name="user[First name]" type="text" />
<label for="email">Email</label><input name="email" type="email" />
<label for="user_fax_number">Fax Number</label><input name="user[fax_number]" type="text" />
<input type="submit" value="Subscribe" /></form>
You need to edit this HTML so that your decoy field is a "checkbox" (see below). Learn more about HTML checkboxes.
Next, add the CSS style
"display: none !important" to make the field is
hidden, followed by
tabindex="-1" autocomplete="false" – this ensures
the field is empty by default and cannot be tabbed to, by the
user (see below).
<form action='https://app.getvero.com/forms/1759c78b78df63a091e34c57f5642213' method='post'>
<label for='user_First name'>First Name</label><input name='user[First name]' type='text' />
<label for='email'>Email</label><input name='email' type='email' />
<label for='user_fax_number'>Fax Number</label>
<input name='user[fax_number]' type=checkbox value="1" style="display:none !important"
tabindex="-1" autocomplete="false"/><input type='submit' value='Subscribe' /></form>At this point, you can add the HTML to your website. For most people, this means adding the HTML to your blog template in WordPress, Squarespace or a similar platform, or using a popular form manager that accepts HTML forms.
Step 4: Capture and view the form field
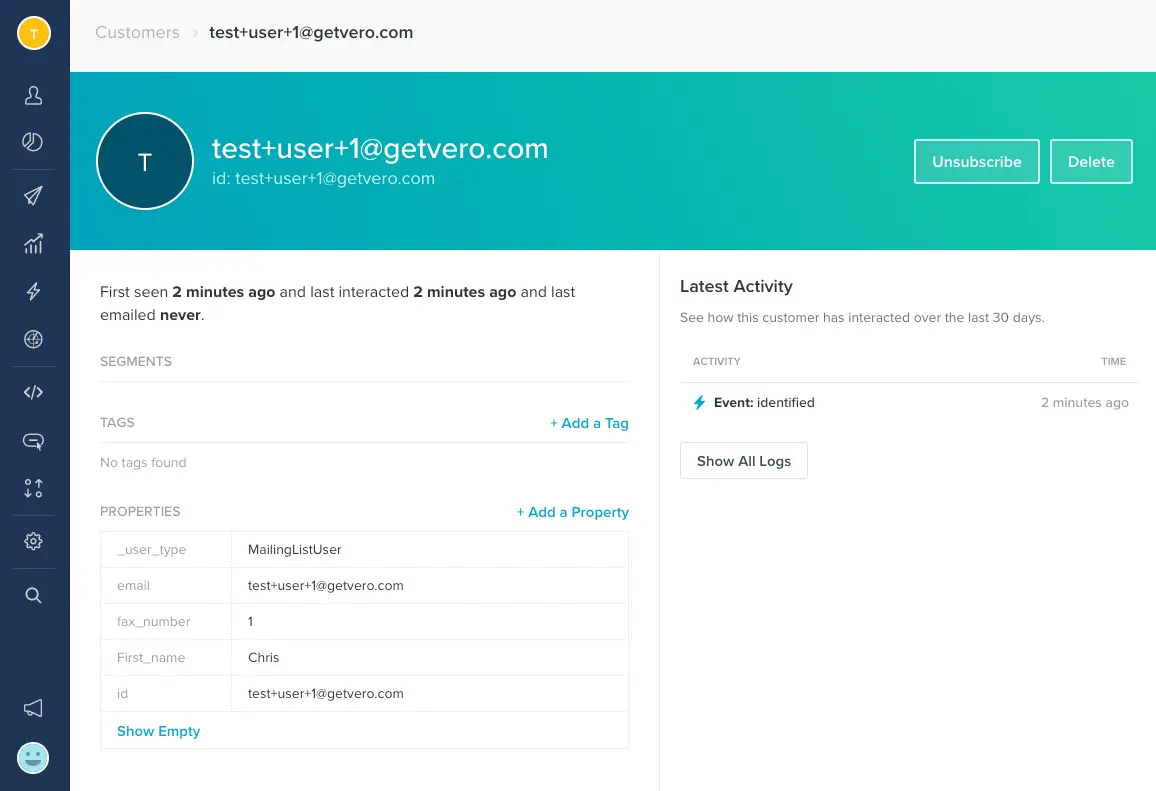
Once your form is set up, the easiest way to test it is to fill out the form with your details and hit ‘Submit’. This will add a test user to your Vero account and enable you to check that the hidden decoy field you’ve added is not being recorded (this value should only be present if the checkbox is ticked).
In your Vero account, navigate to Customers and search for the email address of the test user. By viewing their customer profile in Vero, you can check that the field is not set.
To test more thoroughly, remove the
"display: none !important" from the checkbox in the
form HTML. Then, tick the checkbox and submit the form with a
test user. View the test user in Vero, and confirm that the
honeypot value is set to "1".
If so, everything is working as expected.
Don’t forget to re-add "display: none !important"
to the decoy field in your HTML form.
Step 5: Use segments to filter out spam users
Now that you can detect attackers using your hidden, decoy field, it is vital to ensure you only email or message valid subscribers.
To do this, create a new segment in Vero and add a condition ‘has property [decoy field] does not exist’.
In this segment, we have included only those users who have this property not set. Any user with this field set must, by nature of our honeypot, be an automated bot or invalid signup.
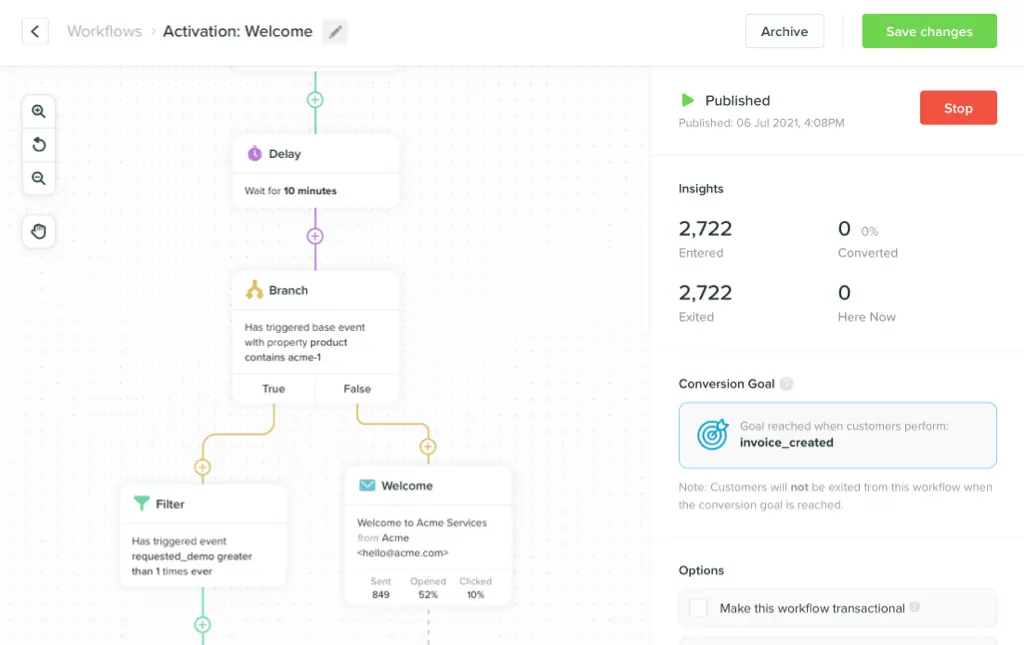
The final step is to include this condition in your Newsletter segments and Workflow filters to ensure you only deliver messages to valid subscribers.